
Introduction: The Visual Centerpiece That Cannot Fail
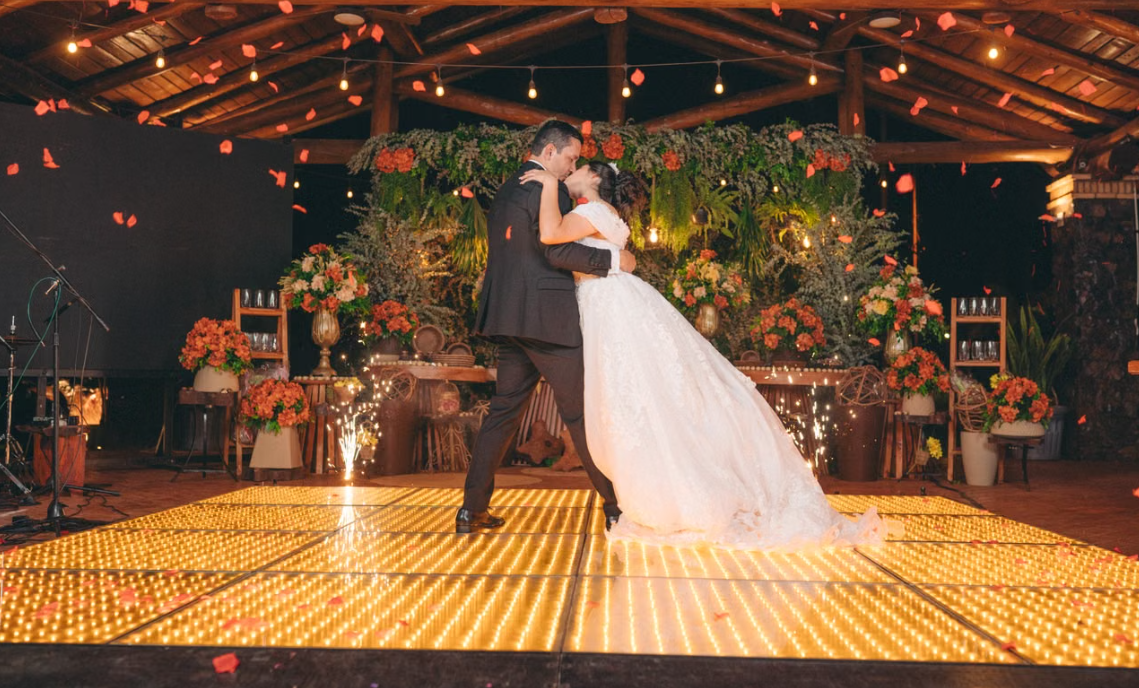
If you have attended a modern high-end wedding, corporate gala, or VIP club event recently, chances are you have seen a 3D infinity mirror LED dance floor in action. When activated, these modular panels create a mesmerizing, dark-matter illusion of infinite depth beneath the dancers’ feet. It is easily one of the highest-value rentals in the modern event equipment catalog.
However, behind that stunning optical illusion lies a serious piece of structural and electrical engineering. Unlike traditional wooden or acrylic dance floors, an infinity mirror floor relies on tempered glass panels, internal LED matrices, and high-amp power supplies—all while supporting dozens of people dancing, jumping, and potentially spilling sugary drinks simultaneously.
When a dance floor setup fails, it isn’t just an embarrassing light show glitch—it is a major liability risk. Whether you are an event rental company looking to invest in new inventory or a production manager installing one for a multi-day festival, understanding the physics, load thresholds, and electrical requirements of LED dance floors is non-negotiable.
1. Structural Integrity: Tempered Glass vs. Weight Load Physics
The single biggest concern for any venue manager or event planner is straightforward: “Is this glass going to crack when 50 people start jumping in high heels?”
A commercial-grade 3D infinity LED panel does not use regular window glass. Professional systems utilize high-strength tempered glass (or toughened glass) surface panels, typically between 8mm and 12mm in thickness, supported by an internal structural aluminum alloy base frame.
Understanding Static vs. Dynamic Load Capacity
When evaluating a manufacturer’s specs, you must distinguish between two types of weight limits:
Static Load Capacity: The maximum weight a single panel can support when the weight is completely still (e.g., a heavy DJ booth or a baby grand piano sitting on the floor).
Dynamic Load Capacity: The maximum weight impact a panel can handle during motion (e.g., a crowd of 200 lb guests actively jumping or dancing in stiletto heels). Stiletto heels concentrate immense downward force onto a microscopic surface area (psi – pounds per square inch), creating severe point-impact stress.
Pro Equipment Standard: A professional-grade 50×50 cm or 60×60 cm LED panel should offer a minimum static weight capacity of 500 kg per panel (approx. 1,100 lbs/panel) and a dynamic load capacity capable of easily handling high-traffic commercial party crowds without flexing.
2. Connection Architecture: Magnetic vs. Wired Interlocking Systems
How individual panels lock together determines both your setup time during load-in and the structural stability of the floor throughout the night.
Traditional Cable-Connected Systems
Older or budget-tier LED floors require hand-plugging signal and power jumper cables between every single adjacent tile beneath the frame.
The Pitfall: Cable connections create a spiderweb of wiring underneath. If one single power jumper works itself loose under the vibrations of a heavy bass drop, an entire section of your floor goes dark mid-event. Troubleshooting a dead tile in the center of a fully assembled 20×20 ft floor requires ripping up half the room.
Modern Magnetic Interlocking Systems
High-end commercial LED dance floors utilize wireless magnetic connectors integrated directly into the side profile of the aluminum frames.
The Advantage: Panels snap together securely via high-strength neodymium magnets, establishing both mechanical lock and electrical contact instantly upon contact. This reduces setup times from 3 hours down to 45 minutes for a standard floor, eliminates cable clutter, and ensures an even, flat surface that prevents trip hazards.
3. Spills, Liquids, and IP Waterproof Ratings
Let’s be realistic: dance floors are hostile environments for electronics. Guests will drop iced cocktails, spill beer, and track in rain or mud from outside.
An internal short-circuit caused by a spilled drink can blow out an entire power supply or trigger a venue’s GFCI breaker, plunging the entire party into darkness.
Decoding the Ingress Protection (IP) Rating
When purchasing or deploying LED tiles, inspect the IP rating carefully:
IP54 (Basic Indoor): Dust-protected and splash-resistant. Can handle light accidental drops, but liquid can seep through the seams between tiles over time if not wiped immediately.
IP65 to IP67 (Commercial & Outdoor Ready): Dust-tight and fully protected against water jets/submersion. High-end infinity panels feature sealed rubber gaskets around the tempered glass border and epoxy-encapsulated internal PCBs.
If you are hosting outdoor marquee events or high-energy club nights where drinks are guaranteed to spill, IP65 water resistance is the absolute baseline.
4. Power Distribution: Calculating Amps and Preventing Overloads
An LED dance floor might look like a sleek piece of furniture, but electrically, it acts as a massive current draw. A standard 20×20 ft (approx. 6×6 meter) floor can consist of over 100 individual 60×60 cm tiles, packed with thousands of high-brightness RGB LEDs.
Calculating Your Power Requirements
Always calculate total wattage before plugging your main controller into a standard wall socket:
Check Tile Power Consumption: A typical 3D infinity tile draws roughly 15W to 30W at peak brightness (pure white display).
Calculate Total Load: A 100-tile floor drawing 25W per tile requires 2,500 Watts at full output.
Account for Inrush Current: When the floor is first powered on, internal capacitors draw a quick spike in current (inrush).
If you attempt to daisy-chain a 2,500W floor into a single 15-Amp / 120V household wall circuit (which maxes out at 1,800W), you will trip the breaker instantly.
Best Wiring Practices:
Distribute Load Across Multiple Circuits: Break the floor down into power zones. Run separate heavy-duty 12 AWG power feeds from a dedicated power distribution box (Power Distro) rather than running one long continuous power chain.
Use Ground Fault Protection (GFCI/RCD): Always connect power feeds through GFCI-protected breakers. If a liquid spill ever penetrates a damaged cable or seam, the breaker cuts power in milliseconds, preventing electrical shocks to guests.
On-Site Safety Checklist for Event Techs
Before allowing guests onto an LED dance floor, perform this final 4-step safety inspection:
Verify Subfloor Leveling: Never lay glass LED tiles directly on uneven turf, gravel, or sloped ground. Always build a level subfloor base using plywood, staging decks, or plastic turf mats to prevent tile corners from catching heels or warping frame joints.
Install Beveled Edging Ramps: Every perimeter edge of the dance floor must be fitted with sloped aluminum border edging to transition smoothly to the venue floor, eliminating trip edges.
Inspect Tempered Glass Corners: Check all panel edges for chips or stress fractures during load-in. A chipped glass panel loses its structural integrity and can shatter under heavy dynamic load.
Conduct a Liquid Isolation Test: Ensure all power supply units (PSUs) and main signal controllers are elevated off the ground on rubber pads or flight cases, safe from floor-level spills.